TL;DR

Get business pricing on tools and workshop supplies
- Business-only prices and quantity discounts
- Tax-exempt purchasing
- Multiple users, one account, clear invoices
Position your dust collector to support short, smooth duct runs from the machines that need it, while preserving service access and clear work paths. A central spot can help, but airflow at each hood, duct resistance, filtration, exhaust, and combustible dust precautions determine whether the system works safely and well.
The collector that fits neatly in the corner can still leave your table saw breathing a plume of fine dust. You hear the motor roar, but a long, kinked hose and a restrictive branch keep the airflow from reaching the blade where it matters.
Choosing a position for your dust collector means planning the whole airflow path: from the hood at the cut, through the ductwork and filter, to the point where air leaves or returns to the shop. This guide shows you how to balance duct length, machine layout, service access, noise, and safety, with practical checks for a large workshop and a modest home shop alike.
You will also see why a central location is only a starting point, how to think about future machines, and when a complex layout calls for qualified advice. The aim is simple: make the collector easier to use and maintain while giving each machine the airflow its pickup needs.
Begin placement planning at the pickup hood, then route the duct back to the collector.
A central location may shorten average runs, but actual duct routes, machine airflow needs, and service access decide whether it suits your shop.
Motor horsepower alone does not describe airflow at the tool; account for duct resistance, fittings, filters, and hood design.
Leave clear space to service filters and containers, and keep the unit and ducts out of work and emergency paths.
Plan exhaust, replacement air, and combustible-dust protections to manufacturer instructions and applicable local requirements.
Workshop systems / placement guide
Choosing the Optimal Position for Your Dust Collector in a Large Workshop
Start at the pickup hood and plan the airflow path back to the collector. A thoughtful location balances short, smooth duct runs with access for service, clear work paths, noise control, and safe exhaust or return air.
Choose the spot around the airflow path
A central position may shorten average runs, but the best location depends on actual duct routes, machine demand, and access.
Begin where dust is made
Mark each pickup point before choosing the collector location. Keep the hood close to the blade, cutter, or abrasive; a convenient unit cannot compensate for a poor pickup.
Measure the run you will build
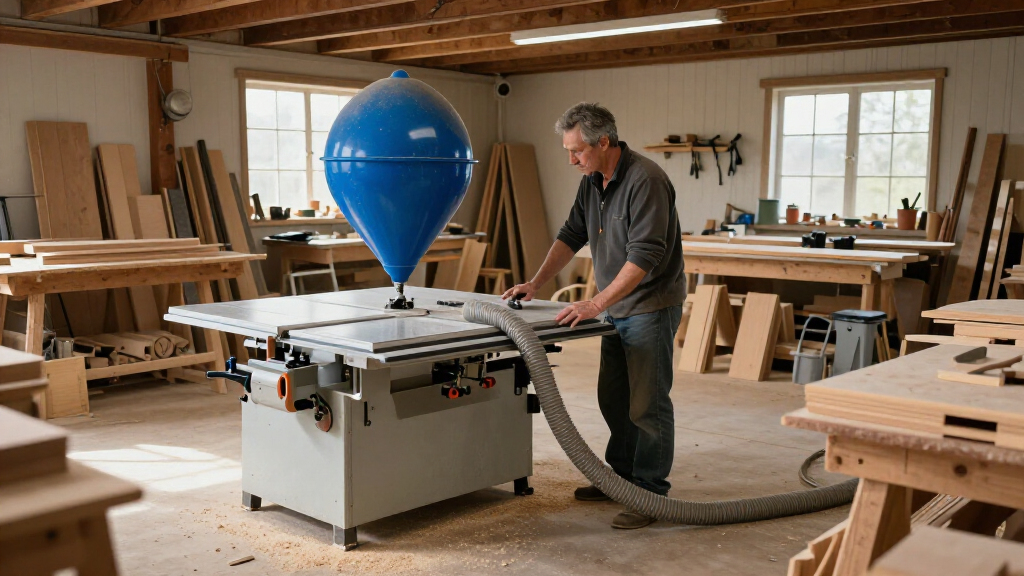
Follow the duct around walls, beams, storage, and walkways. Limit unnecessary length, sharp bends, abrupt diameter changes, and long corrugated hose runs.
Keep work and service clear
Leave space to remove filters and containers, inspect connections, reach controls, and move stock. Keep equipment out of material and emergency access paths.
Plan the system before you commit
Use a floor plan to connect machine needs, duct routing, collector access, and building airflow.
Map pickup points
Mark hoods, stock flow, operator positions, and likely hose crossings.
Sketch duct runs
Draw the actual main and branches; include turns, gates, fittings, and supports.
Check demand
Use machine and collector documentation for required airflow and operating combinations.
Reserve access
Allow for filter changes, bin removal, inspection, exhaust, and make-up air.
Follow airflow to the machine
The collector must deliver the needed airflow at each hood after the duct, fittings, filter, and other resistance take their share. A system can sound powerful while chips remain in a planer chute or fine dust escapes around a saw.
Check the most demanding machine and the combination of tools you expect to run. After installation, inspect capture during typical work and investigate leaks, loaded filters, poor hoods, or unbalanced branches.
An ambient air cleaner can supplement effective source capture, but it does not pull dust off the cut. Filter gauges or alerts can flag change; they do not replace inspection and routine maintenance.
Make the location work every day
A collector is easier to maintain when service and safety are part of the layout from the start.
Design a service route
Follow the manufacturer’s clearance instructions, then allow practical room for the work you will perform.
- Remove filters, drums, bags, or lids without shifting machines.
- Reach controls, gates, seals, and duct connections for inspection.
- Keep containers clear of doors, walkways, and stock-handling paths.
Plan beyond the collector
Outdoor exhaust needs a suitable discharge point and replacement air. Recirculated air needs appropriate equipment and filtration for the dust.
Wood and other fine organic dust can create fire and explosion hazards. Follow manufacturer instructions and applicable codes; placing a collector outdoors alone does not make a system safe.
From dust source to safe air path
Start at the machine, then choose the collector’s spot
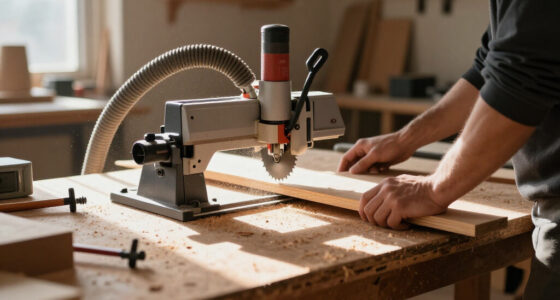
Choose the collector’s position to support effective capture at each machine; start with the hood and cut, then plan the duct path back to the unit. Dust is easiest to control close to where a blade, cutter, or abrasive makes it, so a convenient collector location cannot make up for a pickup hood that sits too far from the action.
For example, a table saw needs attention around the blade and beneath the table, while a random-orbit sander may need a small, close pickup at the pad. On a cabinet saw, a lower cabinet port can capture some debris, but the exposed blade can still throw fine dust above the table. A collector position that supports both a lower connection and a practical upper hood may serve better than one that only makes the cabinet connection easy.
Lay out your machines and mark the actual pickup points before you settle on a collector location. Note where stock enters and exits, where you stand, and where a hose might cross your hands or material. A short branch with a clean bend can be more useful than a straight-line measurement that ignores the hood, gate, and fittings.
Remember that location is only one part of the system. A well-placed unit cannot fix a leaky joint, undersized duct, poor hood, or insufficient airflow. Treat the collector spot as a design decision that helps the pickup work, rather than as a cure for every dust problem.
dust collector with adjustable ducting
As an affiliate, we earn on qualifying purchases.
As an affiliate, we earn on qualifying purchases.
Plan duct runs before committing to a central location
A central position can shorten average duct runs, but the best spot depends on the actual route, fittings, machine demand, and access. Measure paths along the duct route, not as a straight line across the floor plan: a beam, wall, or safe walkway may force several turns that add resistance.
Sketch the shop with each machine’s pickup, the proposed main duct, branches, and gates. Keep bends smooth, avoid unnecessary length and abrupt changes in diameter, and plan around structural supports rather than cutting or moving them casually. In a large shop, a central trunk may make sense, but a far-off planer can still be the hardest machine to serve if its branch is long and restrictive.
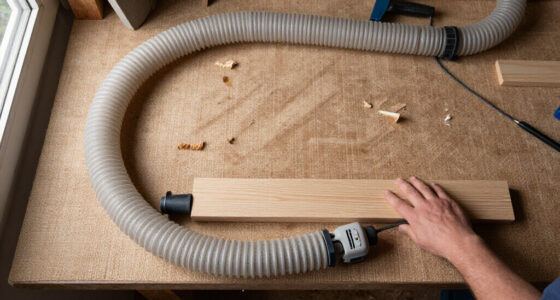
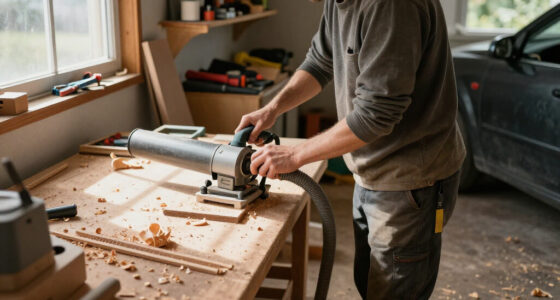
Flexible hose is handy for short connections that let you move a machine or open a gate. It can become a problem when you use it as the entire system: a long corrugated run or a kink can add resistance. For instance, a jointer six feet from a smooth branch may collect better than the same machine attached by a long hose looped around a lumber rack.
Think about which machines may run together. If a table saw and planer share a collector, the duct design and operating plan need to account for that demand. Closing unused branches can help direct airflow, but gates and branches must fit a system designed for the operating conditions; don’t assume any collector can serve every tool at once.
industrial workshop dust collection system
As an affiliate, we earn on qualifying purchases.
As an affiliate, we earn on qualifying purchases.
Match airflow and static pressure to the machines you run
Your collector needs to deliver the required airflow at each machine hood after the duct, fittings, filter, and other resistance take their share. A large horsepower number on a motor label does not show what airflow reaches a saw or sander under real shop conditions.
Use the machine and collector documentation to identify airflow needs and performance limits, then evaluate the system as a whole. Duct diameter, run length, elbows, transitions, branch layout, filter condition, and hood design all shape the result. A system can sound powerful and still leave chips in a planer chute or a haze around the saw blade.
Imagine a drum sander and a table saw on opposite ends of a large workshop. If you size and route everything around the saw because it is near the collector, the sander may starve for airflow when its branch is open. A useful design checks the most demanding machine and the intended combination of machines, rather than relying on the shortest run or the biggest motor.
After installation, inspect the collection at the source during typical cuts. Look for chips escaping the planer hood, dust settling behind a saw, or a filter that loads quickly. Those clues can point to a hood, leak, filter, or balance issue. Don’t treat an ambient air cleaner as a substitute for source capture; it can supplement a working collection system, but it won’t pull dust off the cut.
dust collector filter replacement kit
As an affiliate, we earn on qualifying purchases.
As an affiliate, we earn on qualifying purchases.
Leave room to empty, inspect, and service the unit
Position the collector where you can reach its controls, filters, connections, and collection container without moving a machine or stacking lumber in your path. Use the clearances in the manufacturer’s instructions, then add practical space for the work you will actually perform.
For example, a filter may look accessible when the unit is empty, but changing it can require lifting a bulky cartridge or loosening a band. A collection drum needs enough room to roll out and enough headroom to remove its lid or bag. If you have to drag a heavy bin past a bench every week, you will be more likely to put off emptying it.
Include inspection in the layout. You should be able to check duct connections, gates, filter condition, and container seals without climbing around a machine or reaching over a running tool. Some systems offer pressure-drop gauges or alerts that can flag a loaded filter; they help you notice a change, but they do not replace visual checks and routine maintenance.
Make a service route part of your floor plan, just as you would for sheet goods or long boards. Keep the unit out of emergency access routes and avoid placing it where its container blocks a door when removed. A collector works best when its location makes maintenance an ordinary shop task, not an awkward project you keep postponing.
quiet dust collector for large workshop
As an affiliate, we earn on qualifying purchases.
As an affiliate, we earn on qualifying purchases.
Reduce noise without turning the duct run into a maze
A remote collector can reduce motor noise near your bench, but moving it farther away may increase duct length and resistance. The right location balances noise, airflow, service access, and safe movement; distance from your ears alone is not a complete placement rule.
In a large workshop, a collector in a separate utility area may keep a conversation or layout work more comfortable. But if reaching that area means routing ducts around a storage loft and through multiple tight bends, you may pay for the quieter spot with weaker collection. A nearby location with a suitable enclosure or other manufacturer-approved noise measures may preserve a cleaner airflow route.
Listen during a normal cut and notice where the sound comes from. The machine, air rushing through a restricted fitting, vibration at a duct support, and the collector motor can all contribute. If a branch whistles when a gate is open, check the system design and restrictions instead of assuming that moving the whole unit will solve it.
Protect the way you work, too. Keep the collector and ductwork out of walkways, stock staging zones, and the path you use to carry long boards. A duct hanging at head height over a lumber route can turn every long panel into a slow obstacle course. Plan the route before installing supports, and leave doors, exits, and emergency access clear.
Plan exhaust, replacement air, and dust safety together
Plan the collector’s air discharge alongside its location, because outdoor exhaust and filtered return air have different requirements. Outdoor discharge needs a suitable outlet location and a path for replacement air into the building; filtered return air needs equipment and filtration appropriate to the dust and the system instructions.
In a heated shop, exhausting a large volume of air without planning make-up air can affect building pressure and heating. If the shop has combustion appliances, pressure changes can create serious hazards. Don’t improvise an exhaust route or assume an open door will solve it; follow the equipment instructions and get qualified advice for a complex design. Electrical, gas, structural, and roof work belongs with licensed professionals where required, with power shut off and appropriate PPE for any permitted hands-on work.
Fine wood dust also raises combustible-dust concerns. Collector placement alone does not control fire or explosion risk. Equipment selection, grounding and bonding, spark control, isolation, venting, and duct design must follow the manufacturer’s instructions and applicable local codes. Putting a collector outdoors does not automatically make a system safe.
For a small garage shop with a simple collector and a few machines, reliable manufacturer guidance may be enough for basic layout decisions. A large system, outdoor exhaust, combustible-dust design, or uncertain code requirements deserve qualified engineering or safety advice. Requirements vary by location, so check the current rules that apply to your building and work.
Use this placement checklist before you install the ductwork
Before you commit to a spot, check that the layout supports machine capture, airflow, maintenance, and future changes. A sketch and a few measurements can save you from moving a heavy collector after the main duct is already hung.
- Mark each pickup. Locate the actual hood at the blade, cutter, or sanding point, and note any second pickup such as a saw cabinet port.
- Draw the duct route. Include branches, gates, fittings, supports, and the space needed to avoid walkways and stock paths.
- Check the design airflow. Compare machine needs with collector performance after duct and filter resistance, including machines that may operate together.
- Reserve service space. Confirm filter access, container removal, control access, and manufacturer clearances.
- Plan discharge and safety. Resolve make-up air, filtration, combustible-dust precautions, and applicable local requirements before installation.
- Allow for the shop you will have next year. Account for likely machine additions, changing storage, seasonal doors or windows, and ceiling supports.
For example, if you expect to add a wide-belt sander, mark its likely location now even if you are not buying one yet. A branch route that works today may block a future machine or demand more airflow than the collector can supply. Modular ducting can help shops adapt, but a changed branch alters the system and should be checked rather than assumed to work as before.
Once the system is running, revisit the plan after changes. A new gate, machine, hose, or filter can affect how the rest of the network behaves. Treat the checklist as a working shop document: update it when the layout changes, and investigate visible dust instead of accepting it as part of woodworking.
Frequently Asked Questions
Should I put my dust collector inside or outside?
It depends on the collector, filtration and discharge design, dust hazards, weather protection, building pressure, and local requirements. Follow the manufacturer’s installation instructions; get qualified advice for outdoor exhaust or combustible-dust systems.
Is a central location always best?
No. A central spot can shorten average duct runs, but the best position depends on machine locations, duct routing, service access, and which machines may run together. Measure the actual route, including fittings and obstacles.
How far can the collector be from my machines?
There is no universal maximum distance. Duct diameter, fittings, airflow needs, filter condition, and total system resistance all affect performance. Use a system design that meets each machine’s airflow requirements at its hood.
Can one collector serve every machine in my shop?
Often, but the system must match the airflow needs and intended operating pattern. Account for which machines may run at the same time and how closed branches affect airflow; don’t assume one collector can serve every open gate equally well.
Can I use flexible hose for the whole duct system?
Flexible hose works well for short machine connections, but long, corrugated, or kinked runs can add substantial resistance. Use ductwork suited to the system design and keep flexible sections as short and smooth as practical.
Does a bigger motor mean better dust collection?
Not by itself. Collection depends on airflow and static pressure at the tool, along with the hood, duct route, fittings, filter, and system layout. Check performance for the operating setup you plan to use.
Can an ambient air cleaner replace a dust collector?
No. An air cleaner can help reduce airborne particles, but it does not capture dust at the blade, cutter, or sanding pad. Use source collection at the machine and treat ambient filtration as a supplement.
Conclusion
Choose the collector position that gives your machines a practical, well-planned route to effective source capture while leaving room to service the unit and move safely through the shop. Check airflow at the hoods, not just the motor label, and treat exhaust and combustible dust as part of the design.
Do the floor-plan sketch before you hang the first duct. A few careful marks now can keep your shop’s air clearer and your long boards moving freely later.
Fall yard work Picks
leaf blowers
As an affiliate, we earn on qualifying purchases.