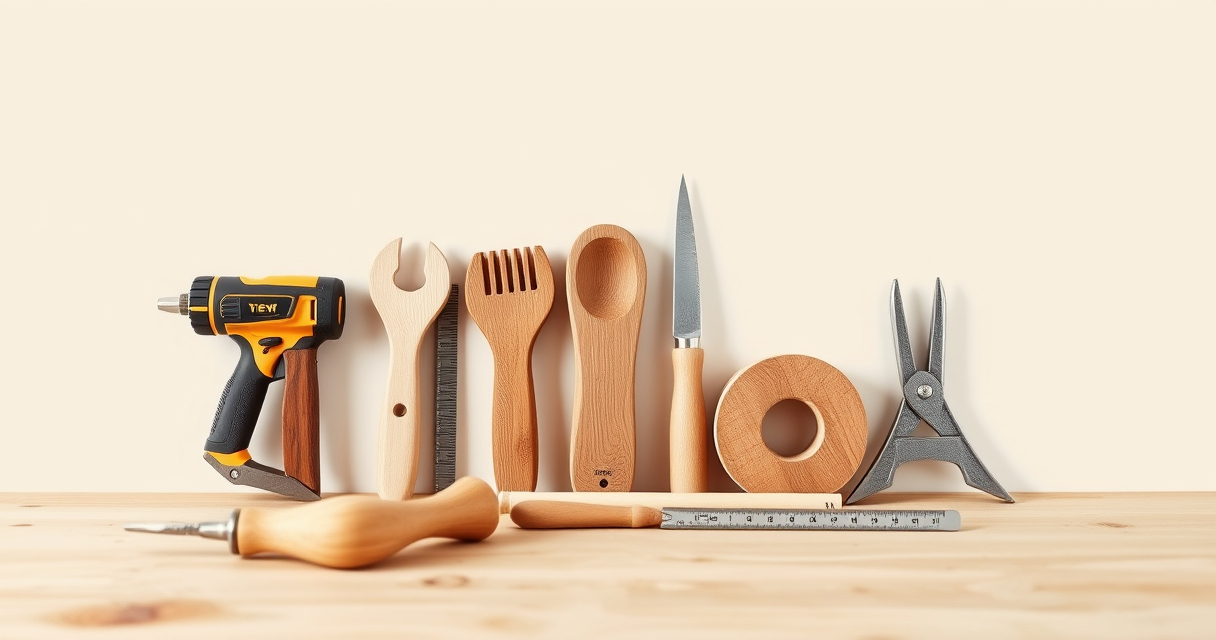
DIY and woodworking bring together practical problem-solving, creative design, and the satisfaction of building something useful with your own hands. Whether you want to repair furniture, improve your home, build cabinets, or establish a compact workshop, success depends less on owning every available tool than on understanding materials, choosing equipment thoughtfully, and following a reliable process.

Get business pricing on tools and workshop supplies
- Business-only prices and quantity discounts
- Tax-exempt purchasing
- Multiple users, one account, clear invoices
This hub is your starting point for the entire craft. It covers workshop planning, essential tools, cutting and joinery, dust control, furniture repair, safety, and project workflow. Use it to identify the skills and equipment that matter for your goals, then follow the linked guides when you need a deeper comparison.
Start With the Projects You Want to Build
A tool collection should develop around real work. Someone assembling shelves and repairing household furniture needs a different setup from a woodworker milling hardwood for cabinets. Before buying equipment, list three to five projects you expect to complete during the next year. Note their materials, dimensions, likely joints, and required finish.
This exercise separates immediate needs from appealing but unnecessary purchases. Most beginner and intermediate projects involve a recurring set of operations:
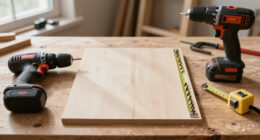
- Measuring, marking, and checking for square
- Breaking lumber or sheet goods into manageable pieces
- Cutting parts to final dimensions
- Drilling pilot holes and driving fasteners
- Shaping edges, curves, grooves, or joinery
- Assembling components accurately
- Sanding, repairing defects, and applying finish
- Collecting dust and cleaning the workspace
Buy for these operations in roughly the order your projects require them. A focused collection of dependable tools is more useful than a crowded shop full of equipment that rarely leaves the shelf.
As an affiliate, we earn on qualifying purchases.
Planning a Functional Workshop
A good workshop supports the movement of both the wood and the woodworker. Even a small space can be productive when tools, benches, storage, and extraction equipment are arranged around a logical workflow.
Divide the Space Into Work Zones
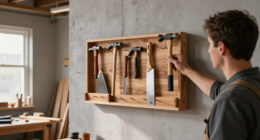
Think in terms of zones rather than isolated machines. A cutting zone needs room around the blade path. An assembly zone needs a flat surface and access to clamps. A finishing area benefits from good lighting, ventilation, and protection from airborne dust. Hand tools and frequently used accessories should be stored close to the bench, while occasional-use items can occupy higher shelves or less accessible cabinets.
In a compact shop, mobile bases and folding work surfaces can help one area serve several purposes. Keep floors and exit routes clear, and avoid positioning lumber racks where stock must be carried across an active cutting area.
Account for Infeed and Outfeed
The footprint printed in a machine specification does not represent the space required to use it. Long boards need unobstructed support before and after a cut. Sheet goods need room to turn and register against fences. Benches or mobile carts can sometimes double as outfeed support if their heights are coordinated.
For crosscutting in restricted spaces, a compact saw setup may be easier to integrate than a large permanent station. The guide to choosing a miter saw for a small workshop can help you evaluate the relevant tradeoffs.
compact miter saw for small workshop
As an affiliate, we earn on qualifying purchases.
As an affiliate, we earn on qualifying purchases.
Build a Strong Foundation of Hand Tools
Power tools increase speed, but hand tools remain valuable for layout, fitting, correction, and work that would be awkward to perform with a machine. A practical foundation includes a tape measure, combination square, marking knife or sharp pencil, level, utility knife, mallet, screwdrivers, pliers, and several clamps.
Woodworking-specific additions might include a block plane, chisels in a few commonly used widths, a hand saw, a card scraper, and a sharpening system. These tools can trim a proud joint, refine an edge, remove glue residue, and improve a fit without setting up a machine.
Accuracy begins with marking and reference surfaces. Measure from the same edge whenever possible, distinguish waste from the finished part, and verify critical dimensions before cutting. A sharp, properly adjusted basic tool often contributes more to a clean result than a sophisticated machine used carelessly.
dust collection system for woodworking shop
As an affiliate, we earn on qualifying purchases.
As an affiliate, we earn on qualifying purchases.
Choose Core Cordless Tools
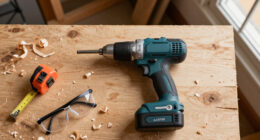
A drill is one of the most versatile tools in a DIY workshop. It can drill pilot holes, create clearance holes, countersink fasteners, and drive screws when fitted with the appropriate accessory. When comparing models, consider chuck size, speed control, clutch adjustment, ergonomics, battery compatibility, and how the tool feels during repeated use. The Werkbericht guide to cordless drills for woodworking provides a useful starting point.
An impact driver is designed primarily for driving fasteners. Its compact body can be convenient in tight assemblies, while the impact mechanism helps with demanding fastening work. It is not automatically a replacement for a drill: a drill offers finer control for many boring operations, while an impact driver is often more efficient for repetitive or resistant screws.
Woodworkers can explore the broader impact-driver options for woodworking. Readers whose work centers on framing, trim, installation, and job-site construction may also benefit from the more specific guide to cordless impact drivers for carpentry.
Think in Terms of a Battery Platform
Cordless tools are part of a system. Batteries and chargers can often represent a significant portion of the long-term commitment, so compare the wider platform rather than evaluating a single tool in isolation. Consider whether the same battery family includes the saws, lights, sanders, or outdoor equipment you might realistically use. At the same time, do not let platform loyalty override safety, suitability, or ergonomics for a critical tool.
clamp set for woodworking projects
As an affiliate, we earn on qualifying purchases.
As an affiliate, we earn on qualifying purchases.
Understand the Main Cutting Tools
Different saws solve different problems. Choosing by operation makes the differences clearer.
Table Saws for Repeatable Straight Cuts
A table saw excels at ripping material to width and making repeatable straight cuts with an appropriate setup. It can become the center of a furniture or cabinet shop, but it demands space, careful technique, and disciplined use of guards, push devices, fences, and outfeed support.
A miter gauge guides crosscuts and angled cuts, and its fit and adjustability affect repeatability. If this capability matters to your work, compare the table saws with precision miter gauges featured in the dedicated guide.
Miter Saws for Crosscuts and Angles
A miter saw is built around crosscutting boards, molding, and dimensional stock. It is particularly useful for repeated length cuts and common angle settings. Evaluate the size of stock you actually cut, the saw’s required rear clearance, dust-port arrangement, support needs, and the space consumed by a permanent station.
Jigsaws for Curves and Cutouts
A jigsaw is a flexible choice for curves, notches, openings, and cuts that do not begin at an outside edge. Blade selection matters: tooth pattern, material compatibility, and cut direction affect speed and surface quality. Support the workpiece, allow the blade to cut without excessive forcing, and use relief cuts when navigating tight curves. For model-selection criteria, consult the guide to the best jigsaws for woodworking projects.
Add Routing and Edge-Shaping Capabilities
A router can create profiles, grooves, rabbets, recesses, flush-trimmed edges, and many forms of joinery. Its versatility comes from the cutter, so bit selection is as important as the router itself.
Match the bit to the material and operation. Hardwoods can place substantial demands on cutting edges, especially during deep or wide passes. Use sharp bits, secure the work, follow the correct feed direction, and remove material in sensible increments instead of attempting an aggressive pass. The guide to router bits for hardwoods offers focused help for this demanding application.
Before routing the finished part, test the setup on scrap of the same species and thickness. A test cut confirms depth, bearing position, edge profile, and feed technique while there is still time to make adjustments.
Control Dust at the Source
Wood dust is not merely untidy. It can reduce visibility, interfere with finishes, accumulate around equipment, and create respiratory and housekeeping concerns. Effective control combines source capture, room cleanup, ventilation where appropriate, and suitable personal protective equipment.
Dust Collectors and Shop Vacuums Serve Different Roles
A dust collection system is generally associated with tools that produce a sustained volume of chips and dust through larger ports. A shop vacuum is portable and useful for cleanup, handheld power tools, benches, crevices, and equipment designed around smaller hoses. Neither category is universally superior; the correct choice depends on the tool, port design, hose arrangement, and debris being collected.
For stationary equipment and centralized extraction planning, begin with the guide to dust collection systems for small workshops. For mobile cleanup and smaller-port applications, compare the recommended shop vacuums for dust and debris.
Short, direct hose runs usually simplify airflow management. Check connections for leaks, empty containers before they overfill, and maintain filters according to the equipment instructions. Dust extraction does not eliminate the need for eye protection or an appropriate respirator when the operation produces airborne particles.
Learn Joinery Through Progressive Projects
Strong woodworking is built on accurate parts and suitable joints. Start with straightforward screwed, glued, or doweled assemblies before moving into more demanding joinery. Butt joints with proper reinforcement can serve utility projects well. Rabbets and dados improve alignment in cases and shelves. Mortise-and-tenon or similar frame joints introduce more exacting layout and fitting.
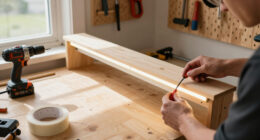
Whatever method you choose, dry-fit the project before applying glue. Confirm that joints close properly, assemblies remain square, clamps can be positioned, and the project can be completed within the adhesive’s working time. Prepare cauls, pads, and cleanup supplies in advance.
Clamping pressure should bring accurately prepared surfaces together; it should not be expected to correct badly fitted parts. Measure diagonals on rectangular assemblies, protect finished surfaces from clamp jaws, and avoid applying so much pressure that components bow or slide out of alignment.
Repair Furniture Instead of Replacing It
Furniture repair can involve loose joints, dents, scratches, chipped edges, missing material, or failed finishes. Begin by identifying the actual defect. A structural failure requires a structural repair; cosmetic filler should not be used as a substitute for sound joinery.
For small voids and surface damage, choose a filler according to the repair size, wood type, finish, and whether the area will be painted or stained. Color and absorption can differ from the surrounding wood, so test on an inconspicuous area or sample whenever appearance matters. Werkbericht’s guide to wood fillers for furniture repair explains the available choices.
Prepare damaged areas carefully by removing loose material and contaminants. Apply filler in controlled amounts, allow it to cure as directed, and sand without hollowing the surrounding surface. When matching an existing finish, gradual blending is usually easier to control than a heavy application.
Make Safety Part of Every Setup
Safe work begins before the tool starts. Read the manufacturer’s instructions, inspect cutters and accessories, secure the workpiece, and understand where your hands will be throughout the operation. Remove adjustment keys, confirm guards are functioning, and wait for blades or bits to stop before reaching near them.
- Wear eye protection during cutting, drilling, routing, sanding, and cleanup.
- Use hearing protection around sustained or high-noise operations.
- Choose respiratory protection appropriate to the dust or finish involved.
- Avoid loose clothing, jewelry, and unsecured long hair near rotating tools.
- Use push sticks, push blocks, clamps, and other holding aids where appropriate.
- Disconnect power or remove the battery before changing blades, bits, or accessories.
- Provide ventilation and follow product instructions when using adhesives and finishes.
- Keep a suitable first-aid kit and fire extinguisher accessible.
Do not work when rushed, distracted, or impaired. If a cut feels unstable or forces your hands toward a hazardous position, stop and redesign the setup.
Follow a Repeatable Project Workflow
A consistent process prevents many avoidable mistakes. Begin with a drawing and a cut list, but verify dimensions against the actual materials and hardware. Identify the project’s reference faces and edges, then mark parts clearly so their orientation remains obvious.
Break rough material down slightly oversize, establish straight and square reference surfaces, and bring matching components to final dimensions together when practical. Complete internal shaping and joinery before an assembly makes those areas difficult to reach. Dry-fit, adjust, and rehearse the glue-up before committing.
Sand through an appropriate sequence without skipping large grit intervals, remove dust, and test the finish on scrap. Allow adequate curing time before installation or heavy use. Finally, record useful dimensions, setup details, and lessons from the build. These notes turn each project into a foundation for the next.
Grow Your Workshop Deliberately
The best next tool is the one that removes a recurring limitation. If cleanup is consuming time, improve extraction. If repeated crosscuts vary, refine your measuring and saw setup. If curved work is difficult, investigate jigsaws and blade selection. If fastening dominates your projects, evaluate a drill-and-impact-driver combination.
Let finished projects reveal what the workshop needs. Build storage before buying more than you can organize, maintain cutting edges before blaming the machine, and invest in reliable measuring and work-holding equipment. With deliberate tool choices, sound safety habits, and a repeatable workflow, even a modest workshop can support ambitious DIY and woodworking projects.
Fall yard work Picks
leaf blowers
As an affiliate, we earn on qualifying purchases.